CREATIVE GUIDES · CREATIVE CRAFTS DUBAI
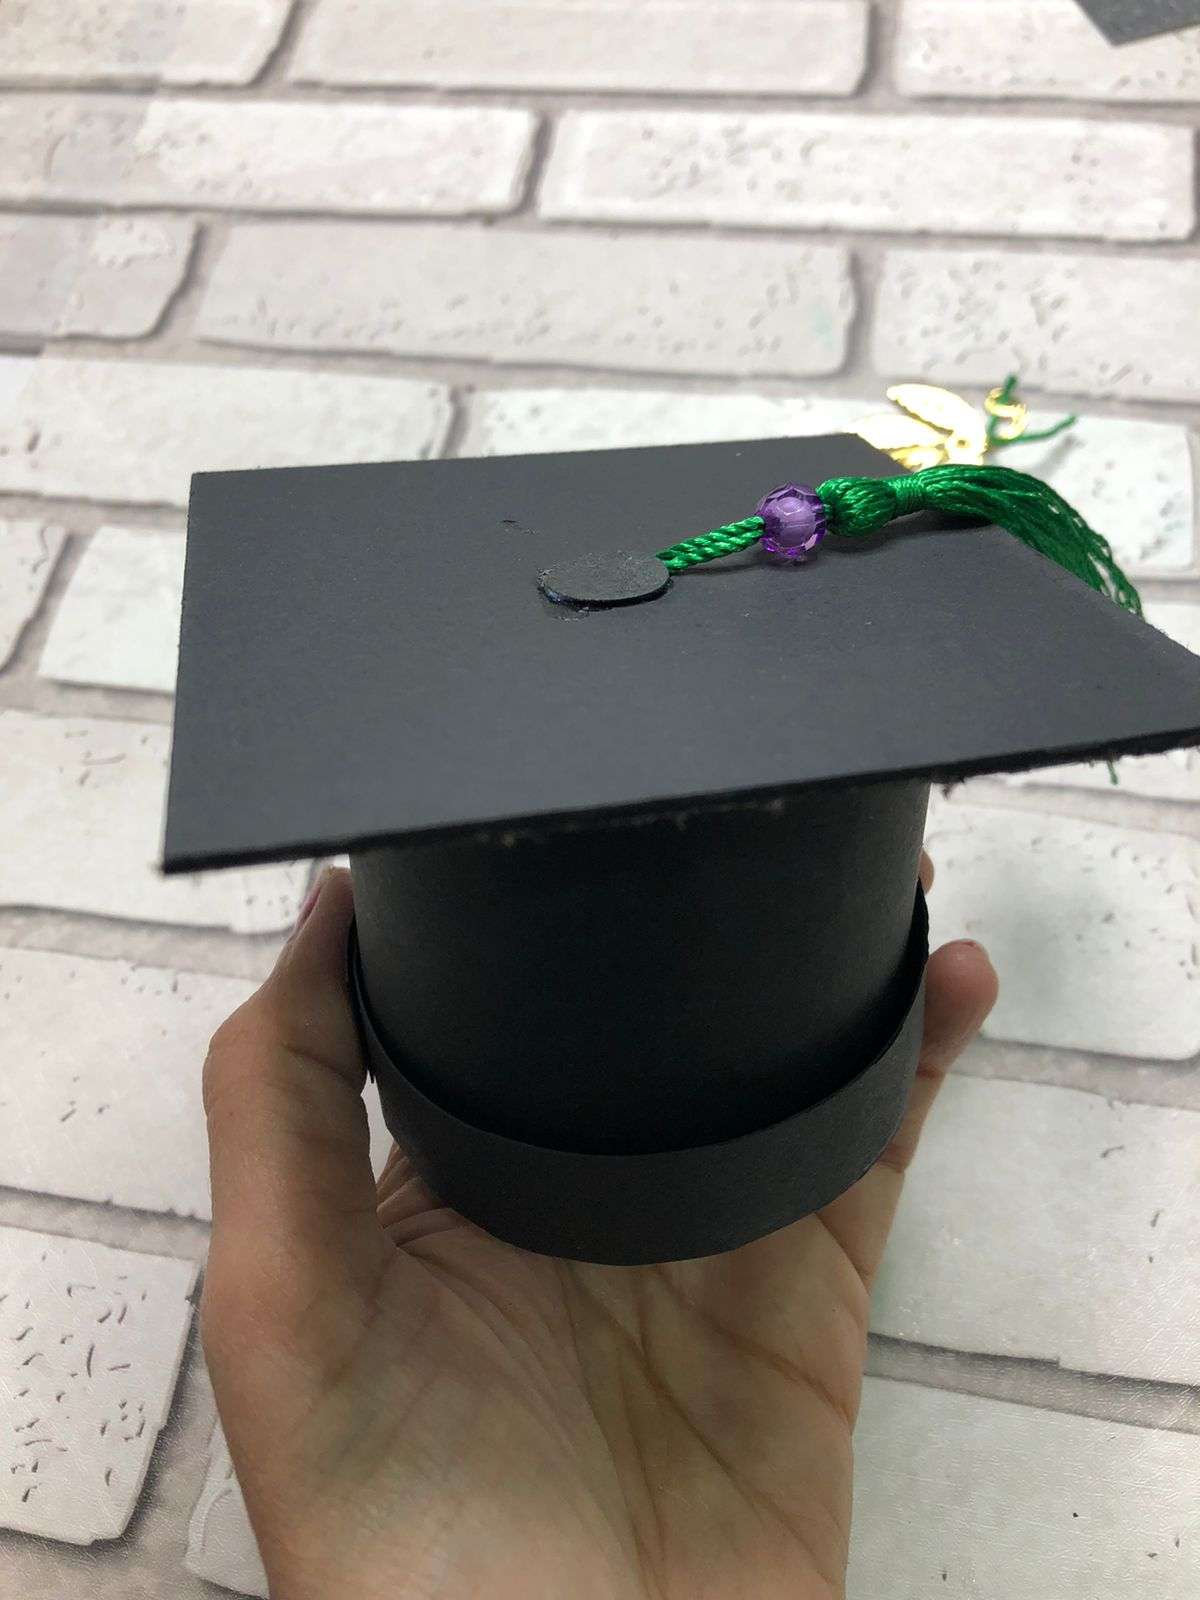
A graduation cap-shaped box makes a thoughtful holder for wrapped sweets or a small keepsake. This project combines a round paper box, a square lid topper and a tassel.
Materials
- Cardstock for the box and lid
- A Cricut machine with compatible cutting and scoring tools
- Cardstock or suitable chipboard for the square cap top
- Adhesive, twine or a tassel, and optional glitter-paper stars
Prepare the box design
In Design Space, use a round-box template with separate base and lid. The lid needs a little clearance to slide over the base. Keep scoring lines attached to the correct cut shapes so they remain positioned when you make the project.
The original project used a roughly 3.25-inch base circle and a 3.5-inch lid circle. Side-strip length must suit the finished circumference plus an overlap tab, so test the template in inexpensive paper before cutting your final cardstock.
Cut and assemble
Use the recommended tools and settings for your machine and material. Fold the tabs, assemble the round base and lid, then check that the lid fits before the adhesive fully sets.
Turn the lid into a cap
Attach a square topper, approximately 3.5 inches wide, to the lid. Add a tassel at the centre and decorate with small stars or the graduate’s name. Place wrapped treats inside after all adhesive has dried.
Project inspiration