CREATIVE GUIDES · CREATIVE CRAFTS DUBAI
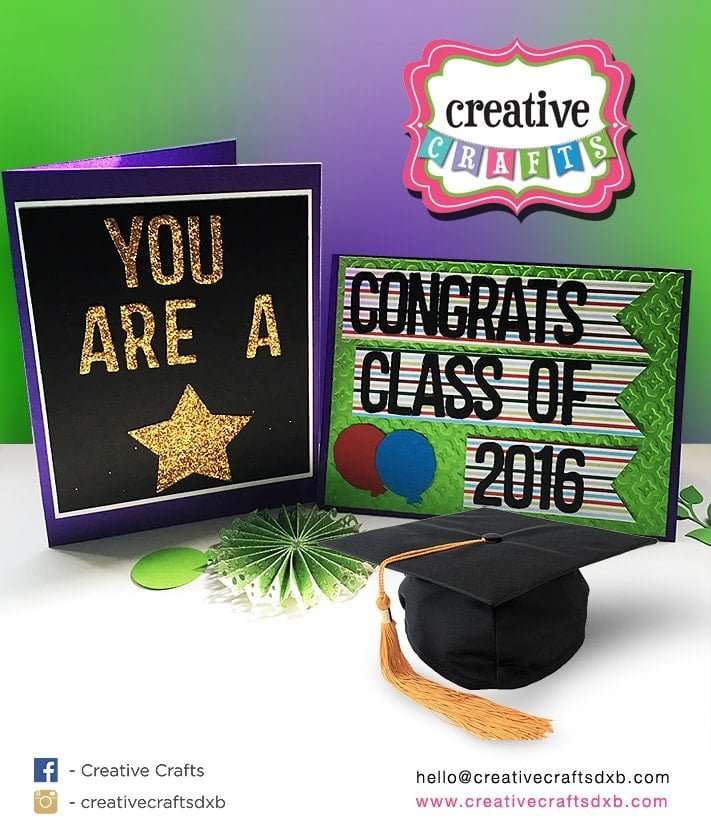
Celebrate a graduate with a handmade card featuring an embossed background and personalised lettering. Update the name, year and colours to make the design your own.
Materials
- Cardstock and a small piece of patterned paper
- Scoring board and paper trimmer
- Embossing folder and a compatible machine
- Alphabet dies and double-sided adhesive sheets
Make the card base
Cut cardstock to 5.5 × 8.5 inches. Score the 8.5-inch side at its midpoint and fold to create a 4.25 × 5.5-inch card.
Add the embossed layer
Cut coordinating cardstock to 5.25 × 4 inches. Emboss it using the correct sandwich for your machine and folder, then attach it to the front with double-sided tape.
Personalise the greeting
Apply an adhesive sheet to the back of black cardstock before cutting the letters. This makes intricate lettering easier to attach. Die-cut a message such as “Congrats” and the graduation year, then arrange it on a banner-shaped piece of patterned paper.
Check the spacing before peeling off the adhesive backing. Attach the finished banner to the card and add a handwritten message inside. Make a matching envelope if you have an envelope punch board, or choose a ready-made envelope that fits.
Project inspiration